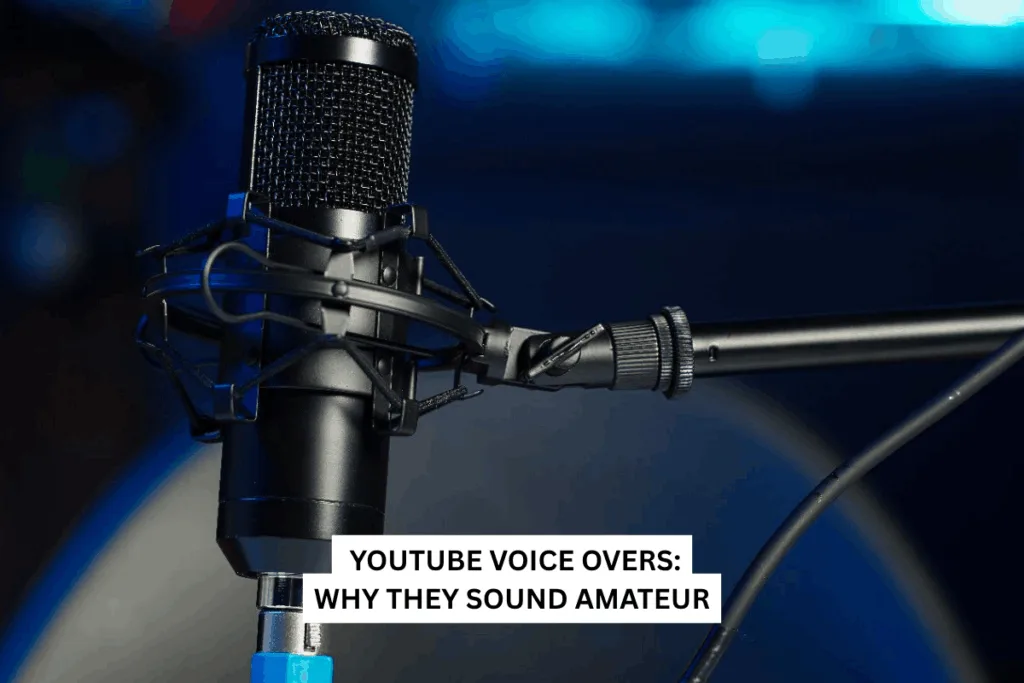
Why Most YouTube Voice-Over Sounds Amateur (And How to Fix It)
Many creators struggle with YouTube voice-overs that sound amateur even after investing in expensive microphones and recording gear.
The truth is that professional creators rarely rely on equipment alone to produce high-quality narration. Instead, great voice-overs come from a mix of vocal pacing, narration psychology, recording environment, and post-production audio processing.
If your videos sound flat, rushed, or unengaging, the problem is usually not the microphone but the way the voice is delivered and edited. In this guide, we will explore the hidden factors that separate amateur recordings from professional-sounding YouTube voice-overs and show you practical ways to improve your narration quality.
The Biggest Myth in YouTube Voice Overs: “A Better Microphone Will Fix Everything.”
One of the most common misconceptions among beginner creators is that buying a better microphone will automatically make their YouTube voice-overs sound professional. While equipment plays a role, it is rarely the main factor behind engaging narration.
Many successful creators record their videos with basic microphones but still sound professional because they focus on voice control, pacing, and storytelling.
Why microphones alone don’t guarantee quality
| Factor | Impact on Voice Over |
|---|---|
| Microphone Quality | Captures sound clearly |
| Vocal Delivery | Determines engagement |
| Recording Environment | Controls echo and noise |
| Audio Editing | Makes narration sound polished |
For example, tools like Adobe Audition or Audacity can dramatically improve the sound of even a basic recording through equalization, compression, and noise reduction.
Creators should think of microphones as capture tools, not quality creators. Without proper delivery and editing, even high-end microphones will still produce amateur results.
The real difference between amateur and professional YouTube voice-overs lies in how the voice is performed and refined after recording.
Poor Vocal Pacing Is the #1 Reason Voice-Over Sound Amateur
Vocal pacing is one of the most overlooked aspects of narration. Many YouTubers speak too fast, too slowly, or with no variation in tone, which makes the content difficult to follow.
Professional narrators intentionally control the tempo and rhythm of their speech to guide listeners through the content.
Common pacing mistakes
- Speaking too quickly due to nervousness
- Reading scripts like a robot
- Not pausing between ideas
- Maintaining the same tone throughout the video
These mistakes make even well-written scripts sound dull.
How professionals structure narration
| Technique | Purpose |
|---|---|
| Strategic Pauses | Helps the audience process information |
| Emphasis on Key Words | Highlights important points |
| Variation in Speed | Keeps the narration dynamic |
| Natural Conversational Tone | Builds audience connection |
A useful tip is to imagine explaining the topic to a single friend instead of speaking to a large audience. This naturally improves pacing and tone.
Good pacing creates a rhythm that makes YouTube voice-overs easier to listen to and more engaging for viewers.
Narration Psychology: Why Professional Voice-Over Sounds More Engaging
Great voice-overs are not just about clear audio; they are about psychological engagement. Professional narrators understand how listeners process audio and use storytelling techniques to maintain attention.
Human brains respond strongly to emotion, curiosity, and conversational tone. When narration sounds too formal or scripted, audiences quickly lose interest.
Psychological triggers used in professional narration
- Curiosity-driven opening lines
- Conversational storytelling
- Emotional tone shifts
- Strategic pauses that create anticipation
Instead of reading scripts like written articles, professional creators treat voice-overs like spoken conversations.
Amateur vs professional narration style
| Amateur Narration | Professional Narration |
|---|---|
| Flat and monotone | Dynamic and expressive |
| Reads word-for-word | Speaks naturally |
| No emotional tone | Uses storytelling |
| Sounds scripted | Sounds conversational |
Another important technique is visual narration, where the speaker imagines the scene they are describing. This naturally adds emotion and energy to the delivery.
By focusing on narration psychology, creators can turn ordinary scripts into compelling YouTube voice-overs that keep viewers engaged throughout the video.
Post-Production Audio Processing: The Secret Behind Professional Sound
Raw voice recordings almost always sound dull and uneven. Even experienced voice actors rely on audio processing to create polished narration.
Professional YouTube creators refine their recordings using audio editing tools such as DaVinci Resolve, Logic Pro, or Adobe Audition.
Essential audio processing steps
| Step | Purpose |
|---|---|
| Noise Reduction | Removes background noise |
| Equalization (EQ) | Balances frequencies |
| Compression | Smooths volume levels |
| De-essing | Reduces harsh “S” sounds |
Normalization Maintains consistent loudness
These adjustments transform raw recordings into broadcast-quality narration.
Example voice-over workflow
- Record clean audio
- Remove background noise
- Apply EQ to enhance clarity
- Compress audio for balanced volume
- Normalize for consistent loudness
Without these steps, even a well-delivered voice-over may sound unpolished. Post-production is the stage where amateur recordings become professional YouTube voice-overs.
Recording Environment: The Hidden Factor Most Creators Ignore
The room you record in has a major impact on how your YouTube voice overs sound. Echo, background noise, and poor acoustics can ruin even high-quality recordings.
Hard surfaces like walls, floors, and ceilings reflect sound waves, creating unwanted reverb.
Common recording problems
- Echo from empty rooms
- Fan or air-conditioner noise
- Street noise from windows
- Hollow or distant sound
Simple ways to improve recording acoustics
- Record in smaller rooms with furniture
- Use curtains and carpets to absorb sound
- Place foam panels on nearby walls
- Record inside a closet filled with clothes
| Environment | Result |
|---|---|
| Empty room | Echo and reverb |
| Treated room | Clear and focused voice |
| Closet recording | Natural sound absorption |
A well-treated recording space can improve audio quality more than upgrading your microphone.
A Simple Checklist to Improve Your YouTube Voice-Over
Improving narration quality does not require expensive gear. Instead, focus on the key factors that professional creators prioritize.
Voice-over improvement checklist
- Write scripts in conversational language
- Practice vocal pacing and pauses
- Record in a quiet, treated environment
- Use audio editing tools to polish recordings
- Focus on storytelling instead of just reading
When these elements work together, the result is a smooth, engaging narration that keeps viewers listening.
Professional YouTube voice-overs don’t depend only on microphones. They rely on performance, storytelling psychology, and thoughtful audio processing.
Want Your Videos to Sound More Professional?
Try our voice over services and turn ordinary narration into studio-quality audio.